Best Kilts For Men And Women
How To Make A Utility Kilt?
Apr
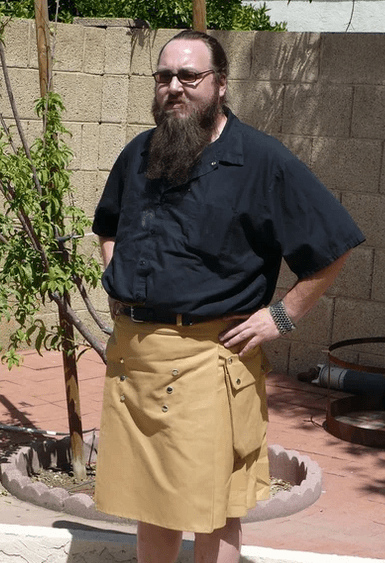
How To Make A Utility Kilt?
Making a utility kilt or cargo kilt is not as difficult as it looks but a person who is going to make a cargo kilt must follow the necessary steps. We are discussing step by step approach in order to make a utility kilts for sale.
Steps To Make A Utility Kilt
By following all the steps you will able to know How To Make A Utility Kilt?
- Measurement
- Calculating the material
- Arranging the tools
- Make the pleated portion
- Making of waist band
- Attaching the fastener
- Making the belt loop
- Making And Attaching the pockets
- Wear And Enjoy
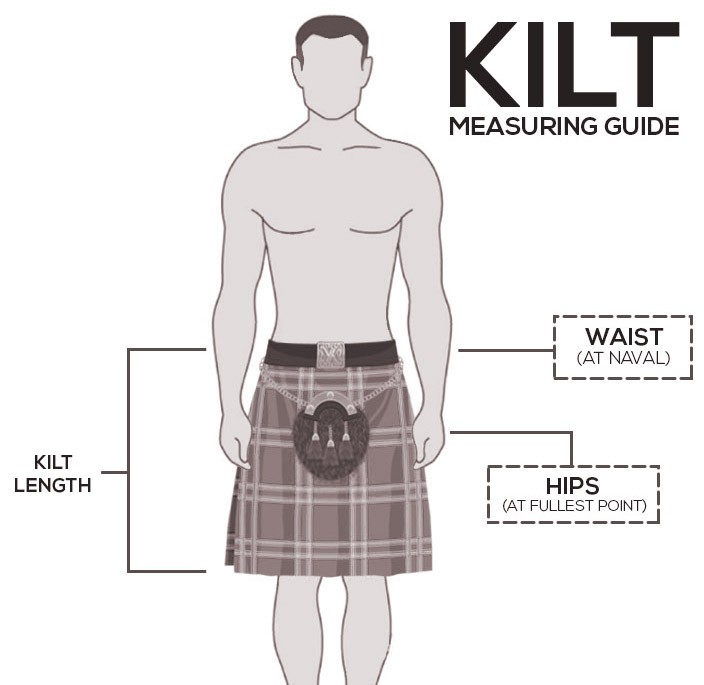
Measurement
Measurement is the initial step for measuring any type of kilt such as tartan kilts or utility/cargo kilts. One more important thing is that the size of a kilt is different from that of pants, Normally kilt size is larger than your waist size that is why measuring of kilt is very important.
Following are the important steps which you must follow for the measurement of kilts.
- Waist Size Measurement
- Hip Size Measurement
- Kilt Length Measurement
1- Waist Size Measurement
This is the first step which is measuring the waist size, put size tape, whether in inches or centimeters, around your body at the point of your waist or belly button or where you are planning to fasten the kilt. Normally a kilt is fasten at the belly button, but it’s totally up to you where you want to fasten it. You must be stand erect and normal breath as it is necessary for accurate measurement.
Normally the kilt is 2 to 4 inches more waist size than pants size.
2- Hip Size Measurement
It is the second important step. In this step you have to move the measuring tape on your hip. We need the size of the widest part of the hip. It is a very important measure when your hip size is larger than in normal.
3- Measure the Length Size
In this part you have to measure the length of the kilt, and it is up to you. You have to send us the detail of your length in private message after measuring it. Well, the measuring tape should be measured at the start of your fastening point to the down where you want the bottom of the kilt. Normally the default Drop length 24″for male and 20″ for female. As it is, a custom made kilt, so the choice is yours.
Calculating The Material
For American kilts, the front apron is 1/3 of the total waist line but for Scottish kilt, the front apron is about 1/2 of the waist line. To calculate the fabric of the pleated area of the kilt, you should measure your waist and divided by 3 then multiply the answer with 8 and after that add an inch. This will be the length of the fabric but for the width of the pleated part then the knee length minus 2 inches.
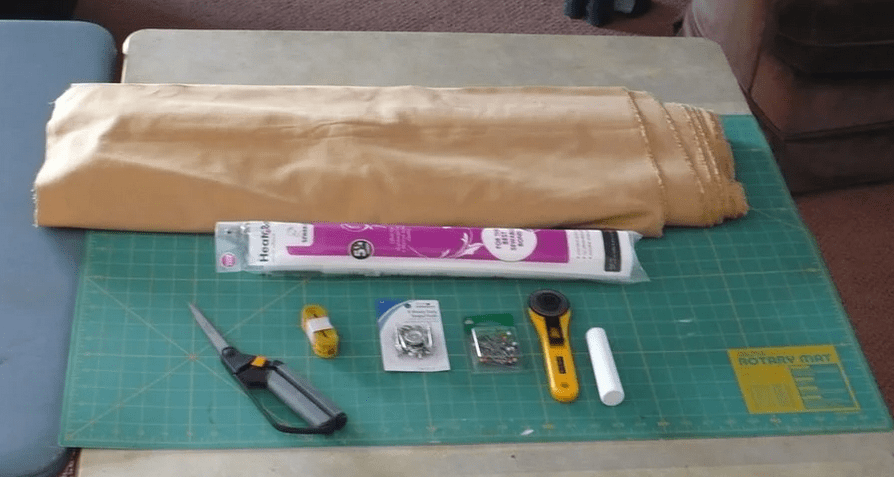
Arranging The Tools
You will need the following tools
- Sewing Machine
- Iron
- Scissors
- Tailors Tape Measure
- Pins
- Fabric pencil or Chalk
- Fabric
- Matching Thread
- Snaps
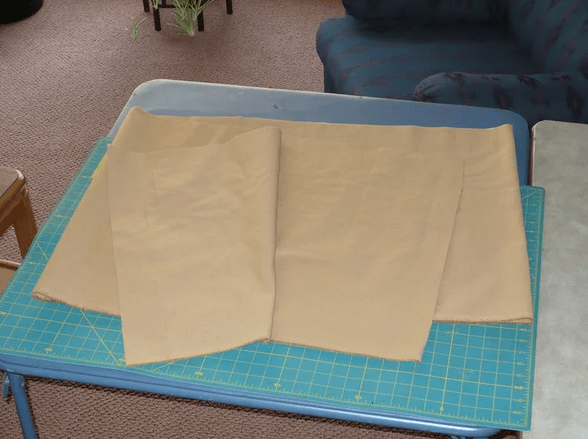
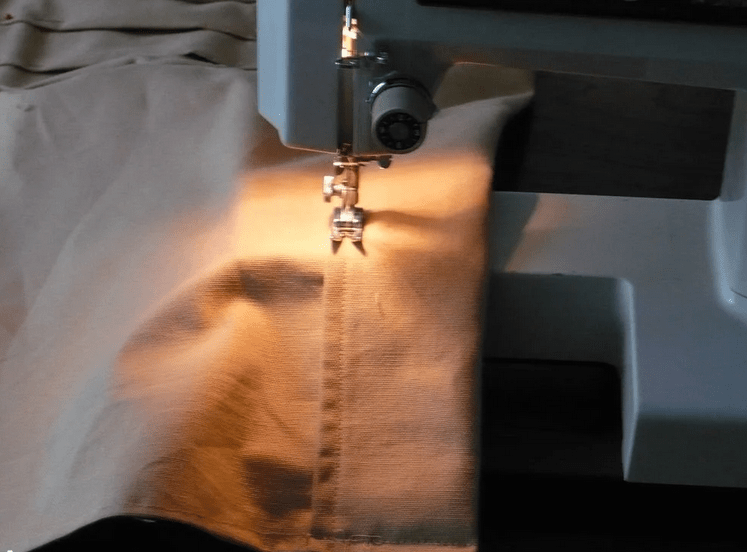
Make the pleated portion
The next step is to make the pleated portion of the utility kilt. I want 2 inch deep of the pleats so fold the 1/2 inch and sew a hem. After that fold the bottom 1/2 inch and sew a hem. Once you sewn the edges, measure 1/3 of you waist on each end and mark with the pencil or chalk.
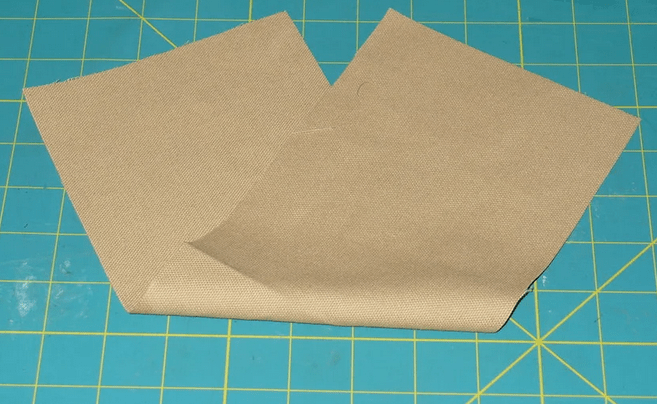
Making Of Waist Band
For waist band, the length of the fabric is 1 inch longer than the top of the pleated portion and seven inches wide. You can use calculate for exact measurement.
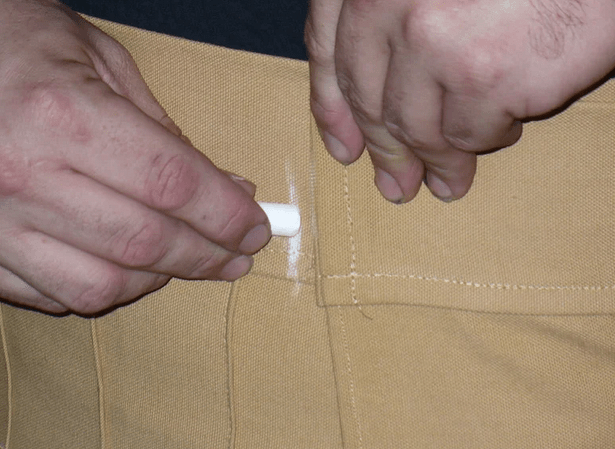
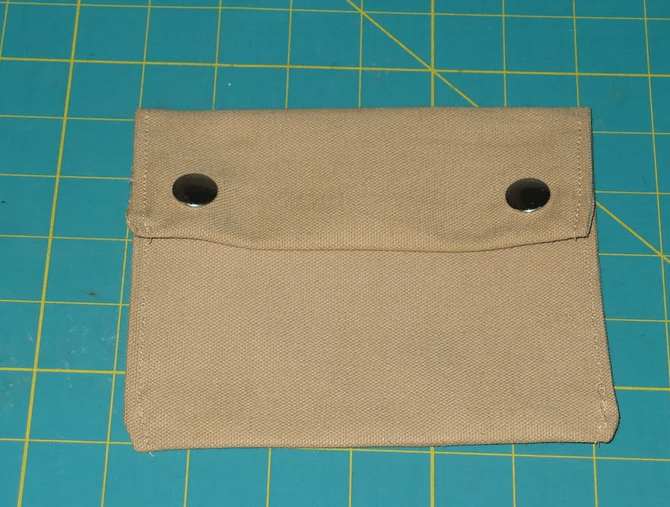
Attaching the fastener
Now wear the kilt at you waist and wrap the left side over the right side. After that mark the waistband with the help of chalk or pencil. Now place the kilt on the table in the direction where waist band towards you. Fold the under apron and fold the apron over the under apron where you mark. You can easily mark where you want the snaps.
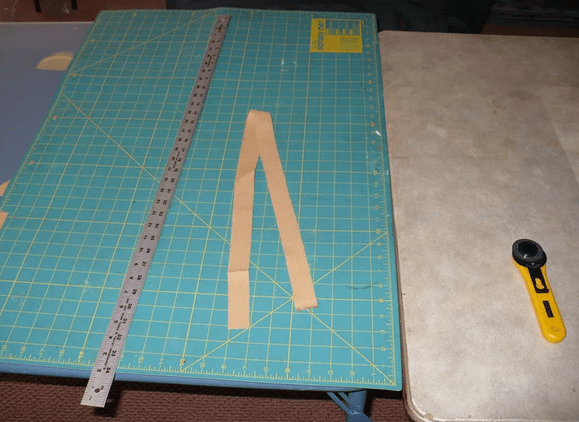
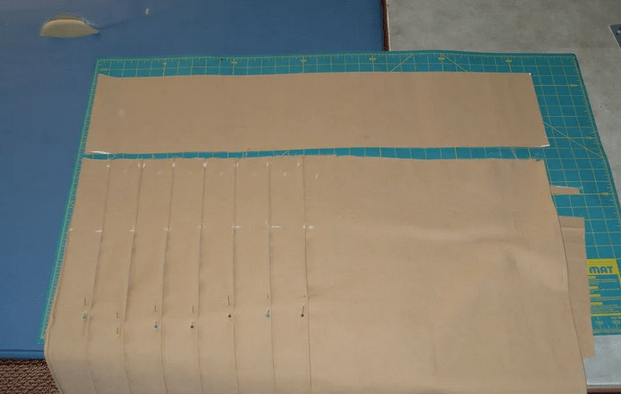
Making the belt loop

For this purpose, you will need a 1inch wide and 30 inches long strip but it depends on the number of belt loops you want. I go with 7 belt loops so every belt loops is 1/2 inches wide. You will need to fold the edged to the center of the strip. Pin the folded strip about every 3 inches.
Making and Attaching the Pockets
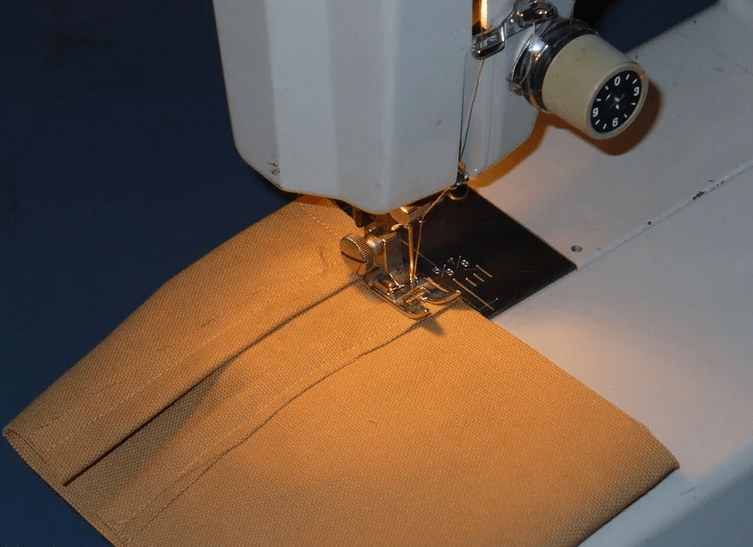
Latest and equipped sewing machines have been used for making the pockets. The wider pockets helps to keep more stuffs. I will go with 7 inches wide by 15 inches long. It depends on you. You can add buttons or snaps where you want. Thread is used for sewing the pockets in order to attach with the kilt.

Wear And Enjoy
Wear this cargo utility kilt and enjoy. If you are searching to buy beautiful utility kilts then follow our men’s utility kilts. All our kilts are made according to the standard of the kilt. Now you can get the answer of the question How To Make A Utility Kilt?